 by
by 
To set up your USB 3.0 dual docking station, you will need the following:
-A USB 3.0 port on your computer. This is typically a blue port.
-An available power outlet.
-A USB 3.0 cable that is long enough to reach from your computer to the docking station.
Setting Up Your USB 3.0 Dual Docking Station
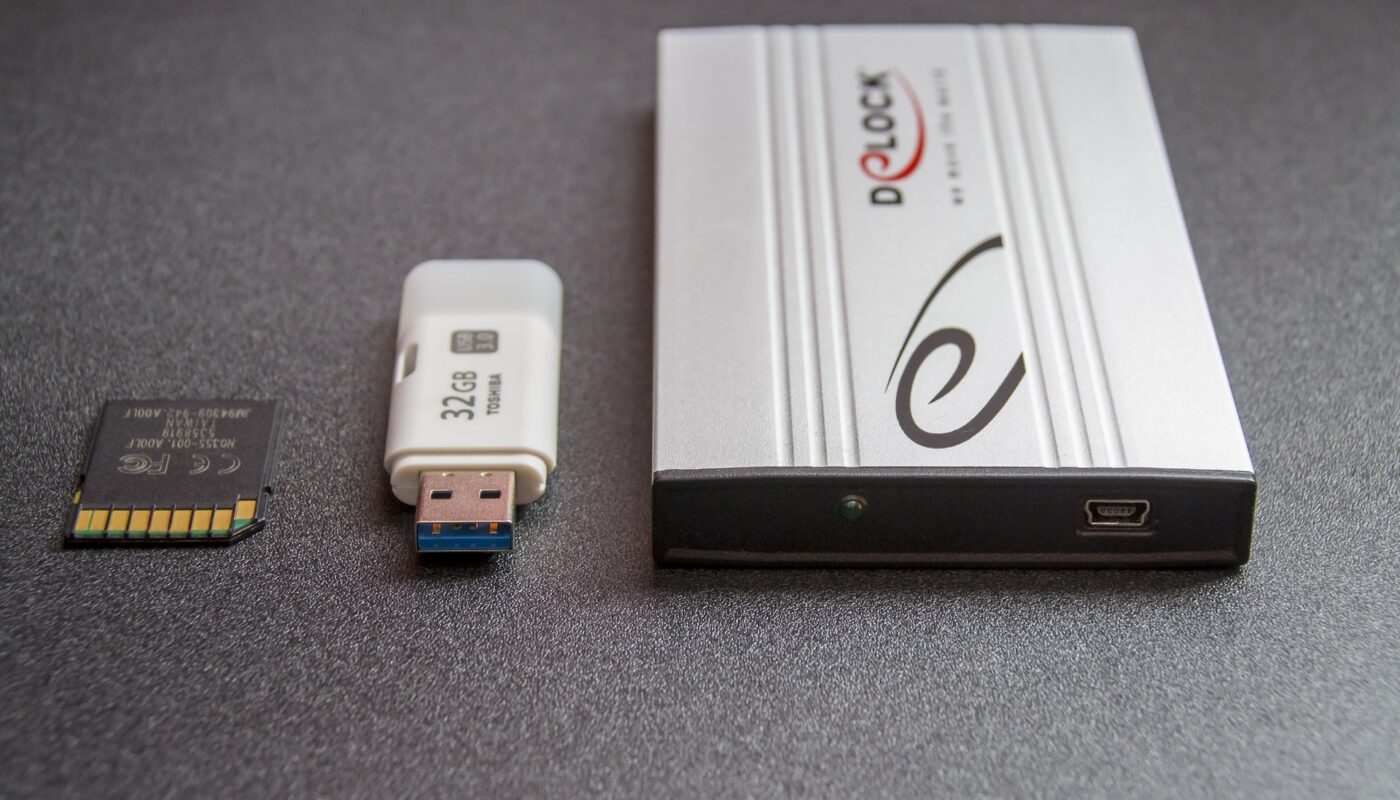
This guide will show you how to set up your USB 3.0 Dual Docking Station. This station will allow you to connect two USB 3.0 devices to your computer simultaneously.
1. Start by connecting the power adapter to the power port on the back of the docking station. Then plug the other end of the adapter into an AC outlet.
2. Next, connect the included USB 3.0 cable to the USB port on the back of the docking station. Then plug the other end of the cable into an available USB port on your computer.
3. Now you can connect your first USB 3.0 device to one of the two ports on the front of the docking station using a standard USB 3.0 cable (not included).
4. To connect a second USB 3.0 device, simply repeat step three using the other port on the front of the docking station.
5. That’s it! Your USB 3.0 Dual Docking Station is now ready for use!
Connecting Your Devices
To use your USB 3.0 dual docking station, first connect the AC power adapter to the DC IN port and then plug it into an AC outlet. Next, connect your devices to the appropriate ports. For example, you can connect your keyboard and mouse to the USB 2.0 ports, and your monitor and Ethernet cable to the HDMI and Ethernet ports respectively. Finally, connect your USB 3.0 device (such as a hard drive or memory stick) to the USB 3.0 port.
Configuring Your Settings
To get the best performance out of your USB 3.0 dual docking station, you’ll need to configure your settings. Follow these simple steps to ensure that your dock is working at its best:
1. Connect the dock to your computer using the included USB cable.
2. If you’re using a Windows PC, open the Control Panel and go to Hardware and Sound > Devices and Printers. Right-click on the icon for your docking station and select Properties
3. Click on theHardware tab and then click on the button labeled “Change Settings.”
4. In the next window, go to the Advanced tab. Under “Link Speed,” make sure that “SuperSpeed (USB 3.0)” is selected.
5. Close all of the open windows and you’re ready to go!
Tips and Tricks
If you have a USB 3.0 dual docking station, you may have noticed that it doesn’t work quite as fast as you’d like it to. Here are a few tips and tricks to get the most out of your investment:
-Use a short USB extension cable. This will help improve data transfer speeds.
-Make sure your computer’s BIOS is up to date. This is especially important if you’re using an older computer.
-Disable any power saving features on your computer. These can interfere with data transfer speeds.
-Close any unnecessary programs and windows. This will help free up resources for your docking station to use.
-Some dual docking stations come with their own power adapters. If yours did not, you may need to purchase one separately.